With the capsule wardrobe planned out, the first project is a pair of jeans. Before I can make those, I need a pants block that fits me. A block is a basic pattern that can be adapted into different garments, so I'm hoping to use this one for some of the other pants in the wardrobe as well. I decided to draft the block from scratch rather than start with a commercial pattern. I had seen Winifred Aldrich's Metric Pattern Cutting for Menswear recommended on Reddit and it seemed like a good reference to have around. It's an extensive patternmaking book that covers everything from foundation blocks to more complicated garments and adjustments for individual figures. For the actual drafting, though, I followed Cornelius Quiring's YouTube tutorial. He comes up in my feed regularly and I've found him to be thorough and specific. His method is considerably simpler than Aldrich's and he also discusses some tailoring principles, including adding ease and dealing with common fitting problems like fabric bunching. I used the video as my primary instructions and referred to Aldrich to double-check things and get some additional information about measurements.
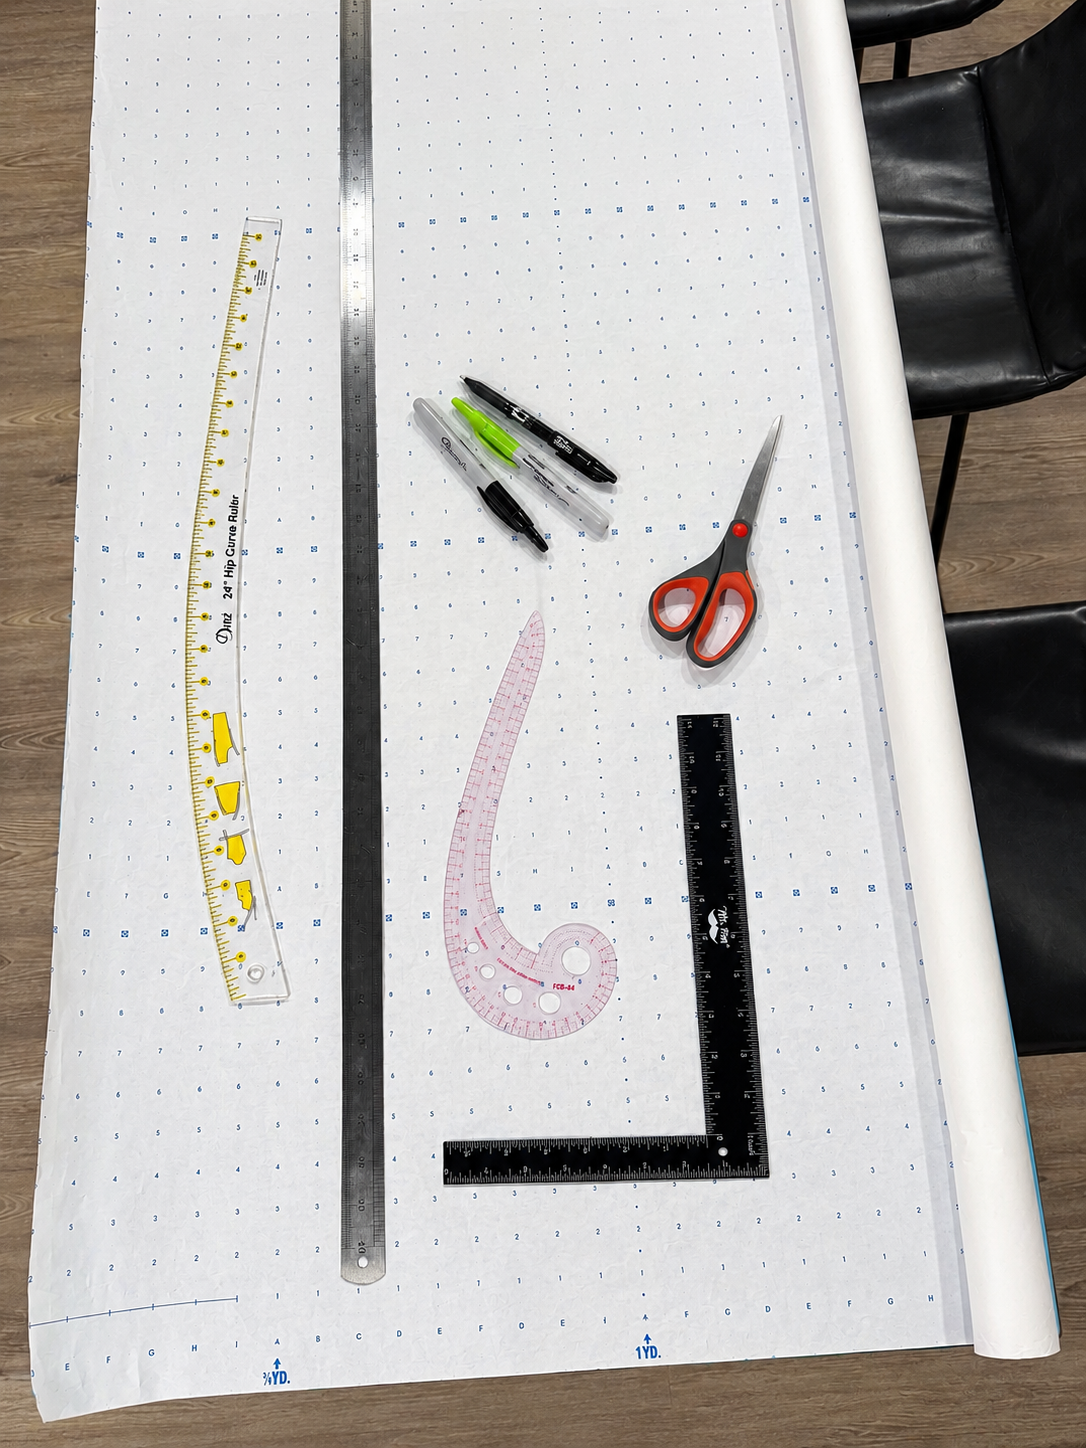
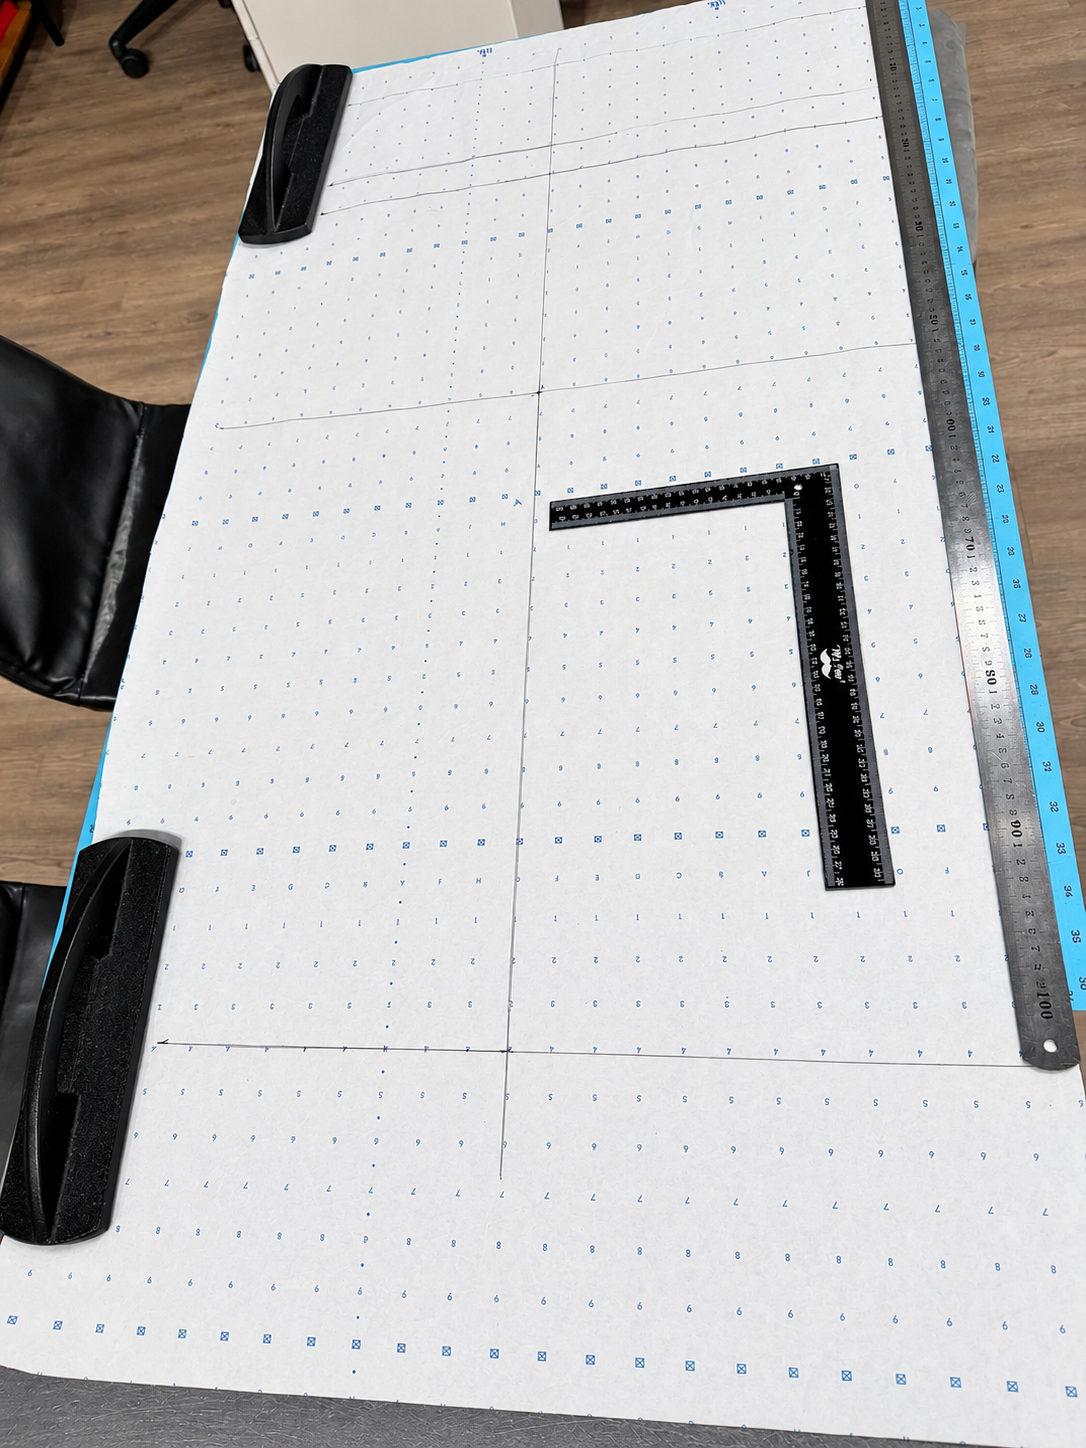
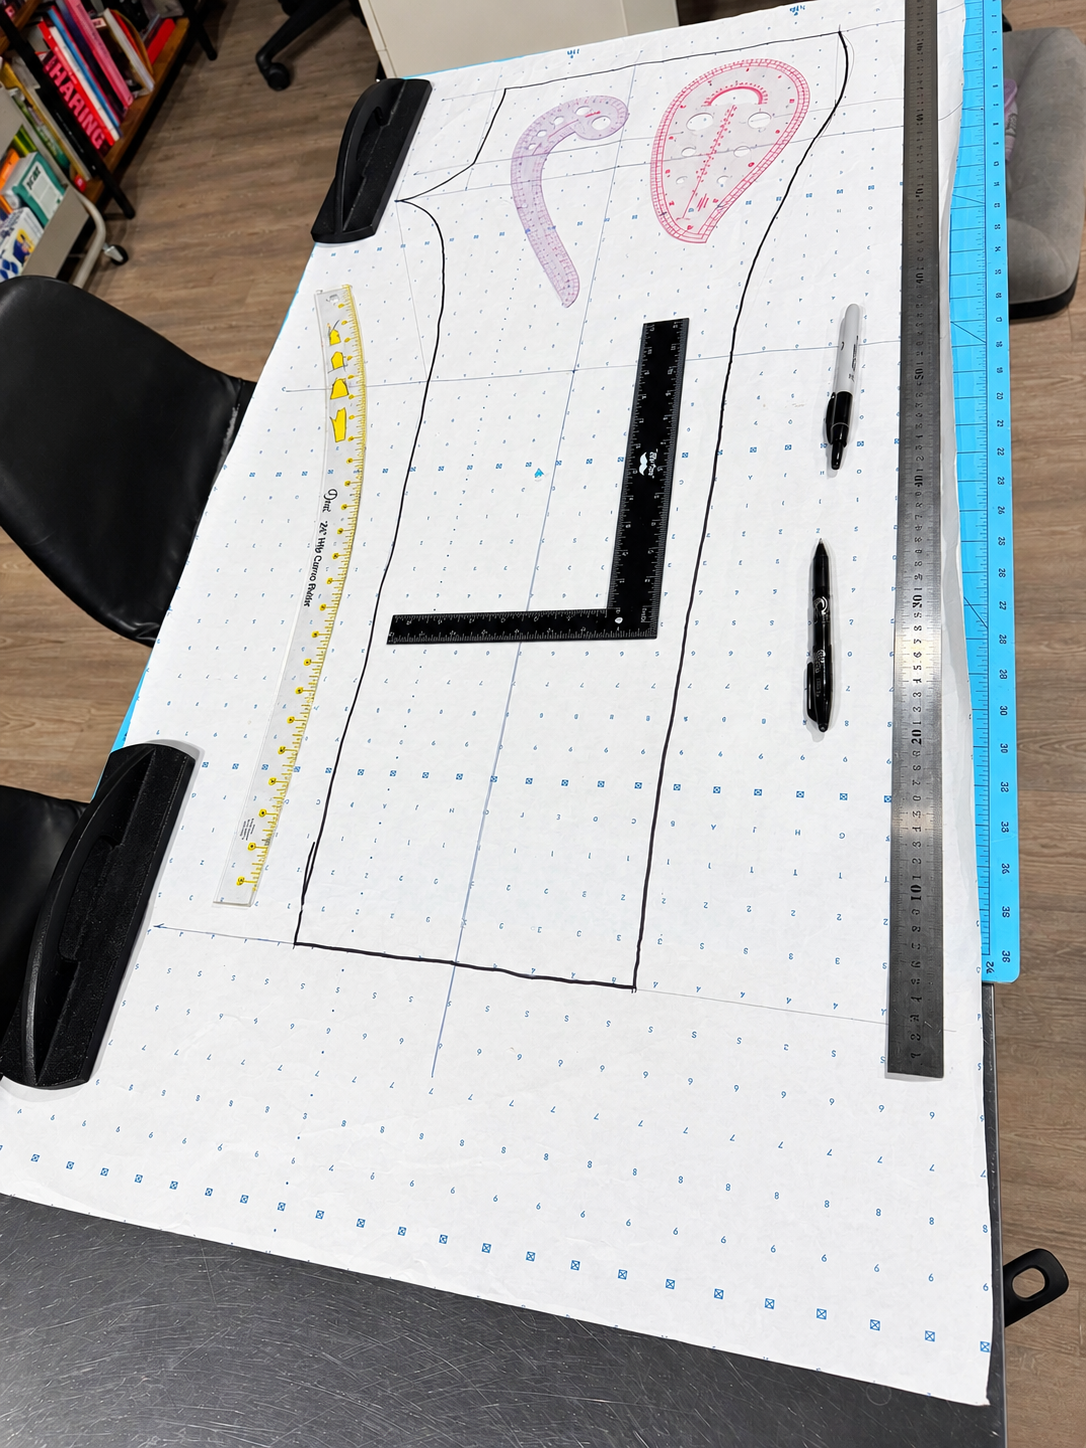
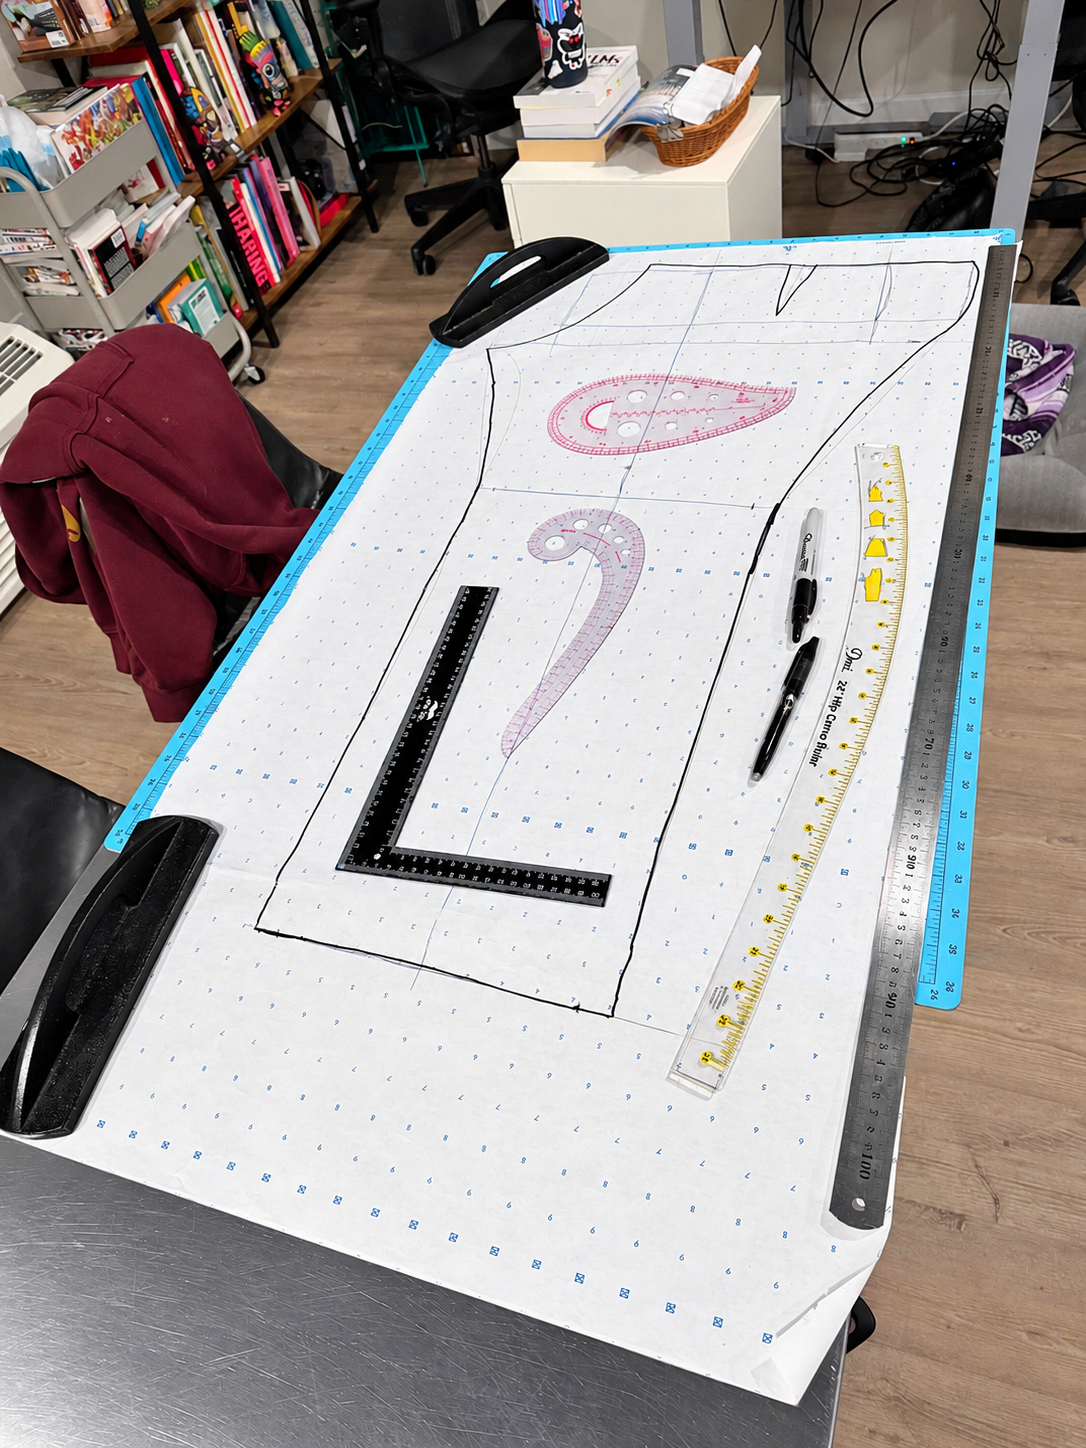
The drafting process starts with body measurements and a series of calculations based on standard human proportions. I followed the calculations exactly for the initial pattern, figuring I could make adjustments once I had something to try on. My waistband and seat measurements were both 51 inches, with an actual crotch measurement of 28 inches. The drafting calculations produced front and back measurements of 8.5 and 10.5 inches respectively. The difference between those calculated dimensions and the actual measurement was used to establish the additional ease in the back. This is where drafting for my body became a little more complicated. The proportions used in these sorts of patterns assume a narrower body shape than mine. Accounting for my belly meant drawing a considerably more pronounced curve than the examples in either the video or the book. I could follow the measurements and calculations, but I wasn't expecting the resulting pattern to look quite like the examples. I drafted everything on gridded pattern paper using a square ruler, a regular straight ruler, a hip curve and a French curve. The straight rulers handled the construction lines and measurements while the curved rulers helped shape the crotch and leg seams. Once the front and back pieces were drawn, I had a complete pattern to test.
For the first sample, I used some floral sheets I'd bought at a thrift store. They were essentially scrap fabric, which made them suitable for trying out a pattern I wasn't entirely sure about. I cut the pieces and sewed them together to see what the original calculations had produced. The first fitting showed a few problems. Most noticeably, the front crotch was too snug and gave me a bit of a moose knuckle. The crotch also sat too high and the top of the pants didn't come up as far as I wanted. The overall shape was there, but the fit needed some work.
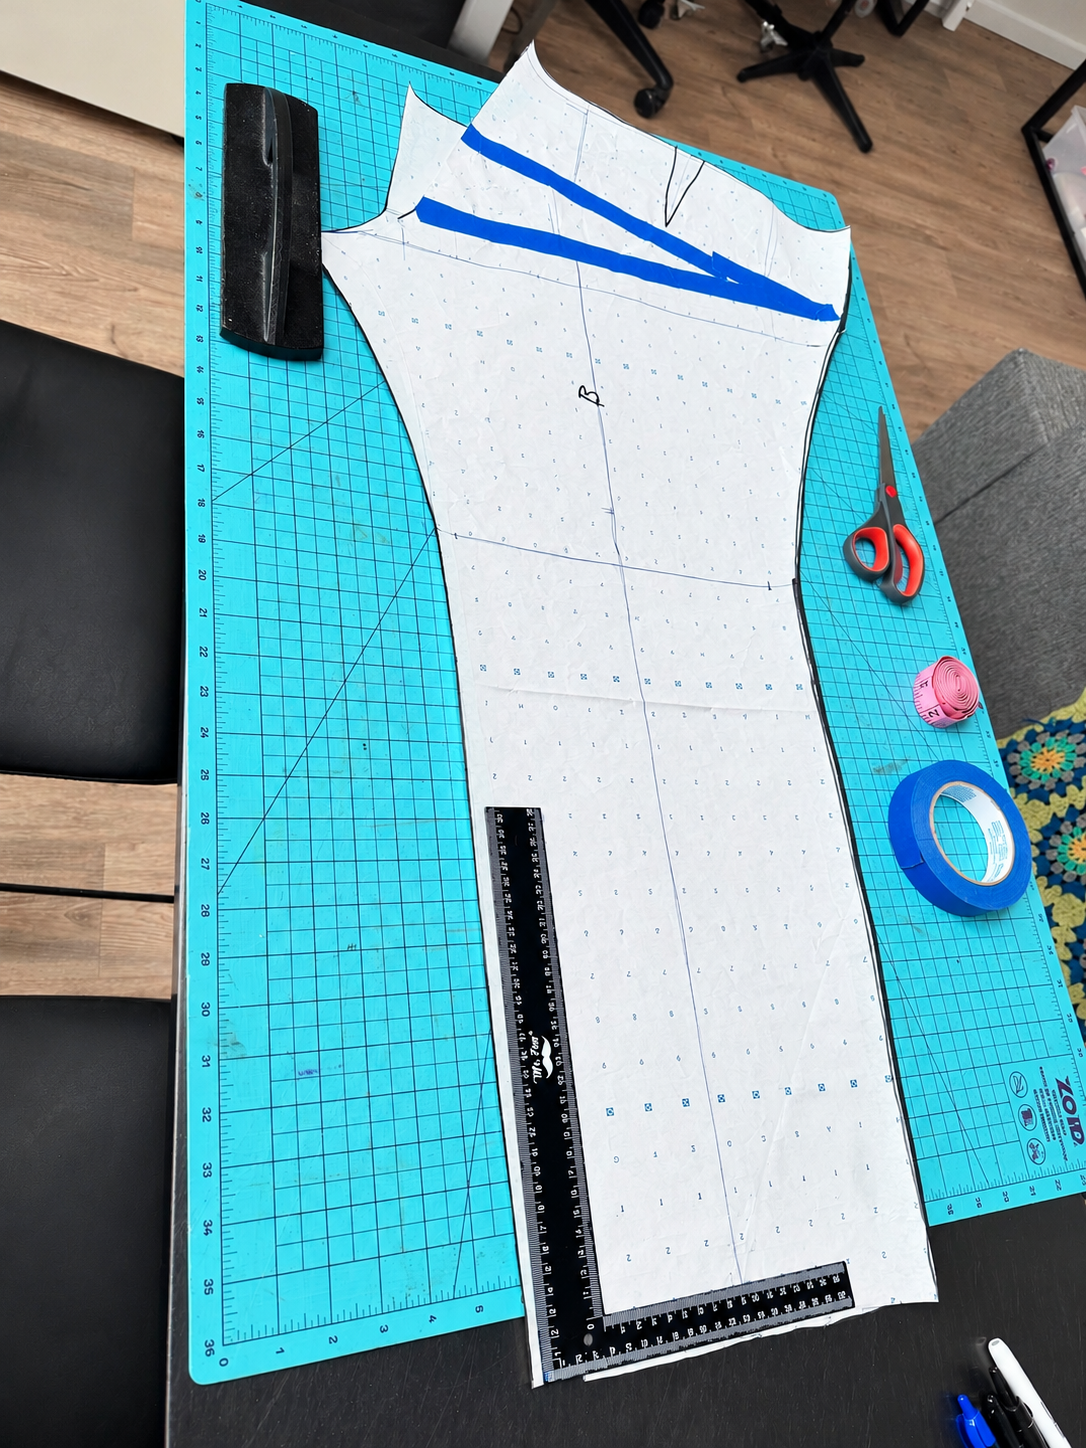
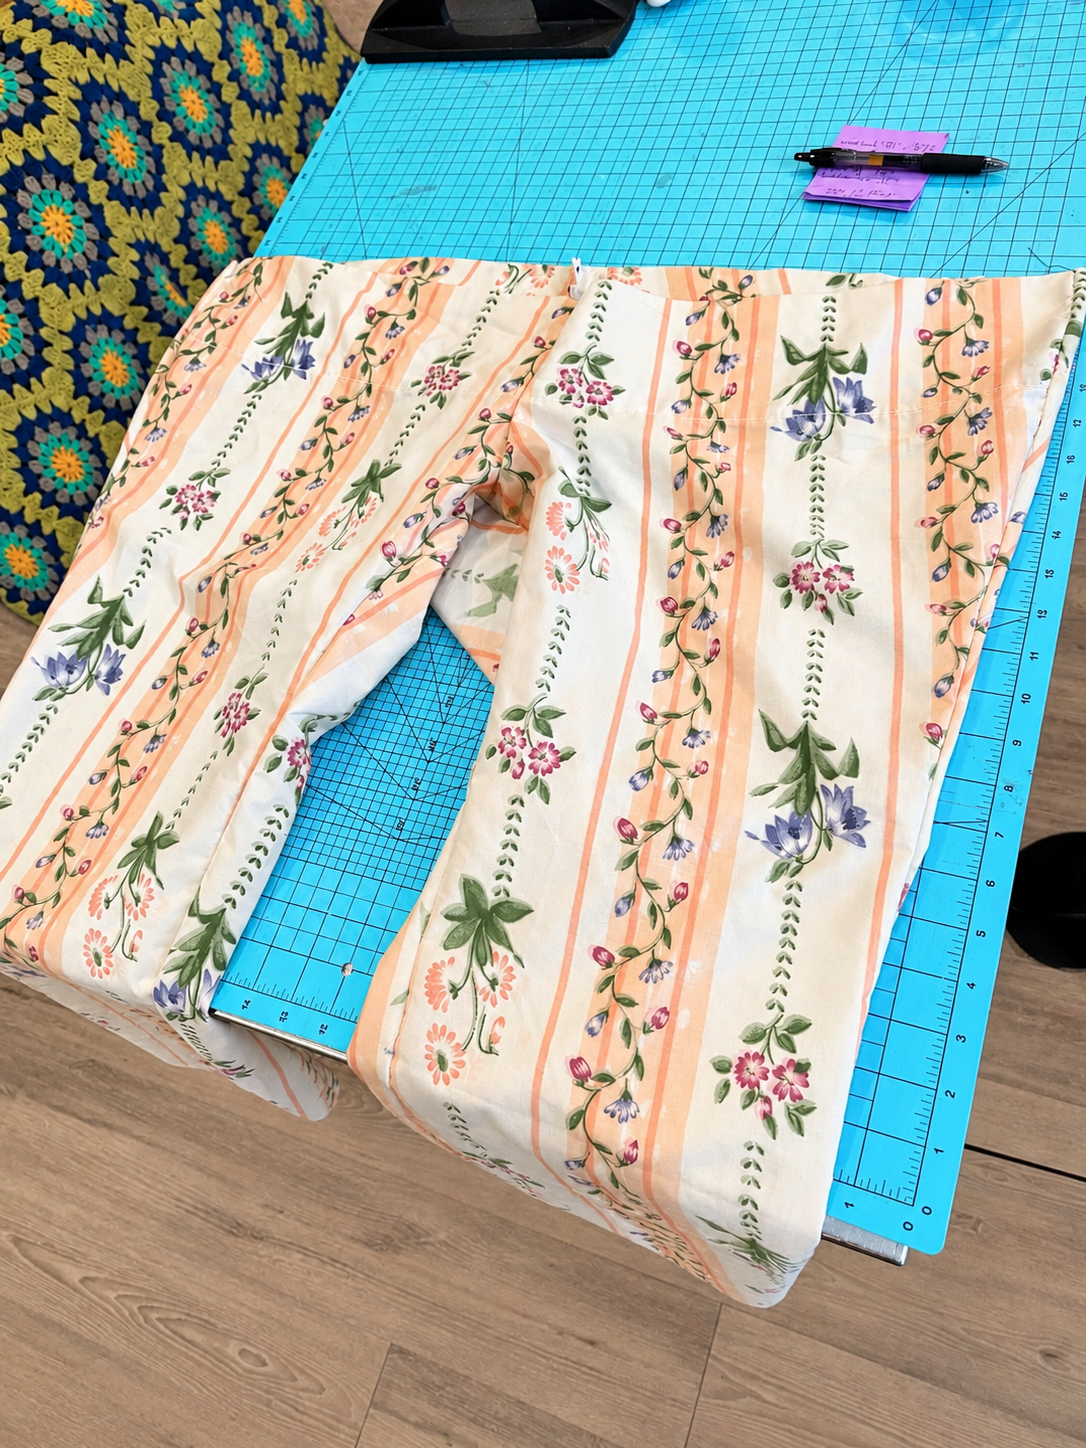

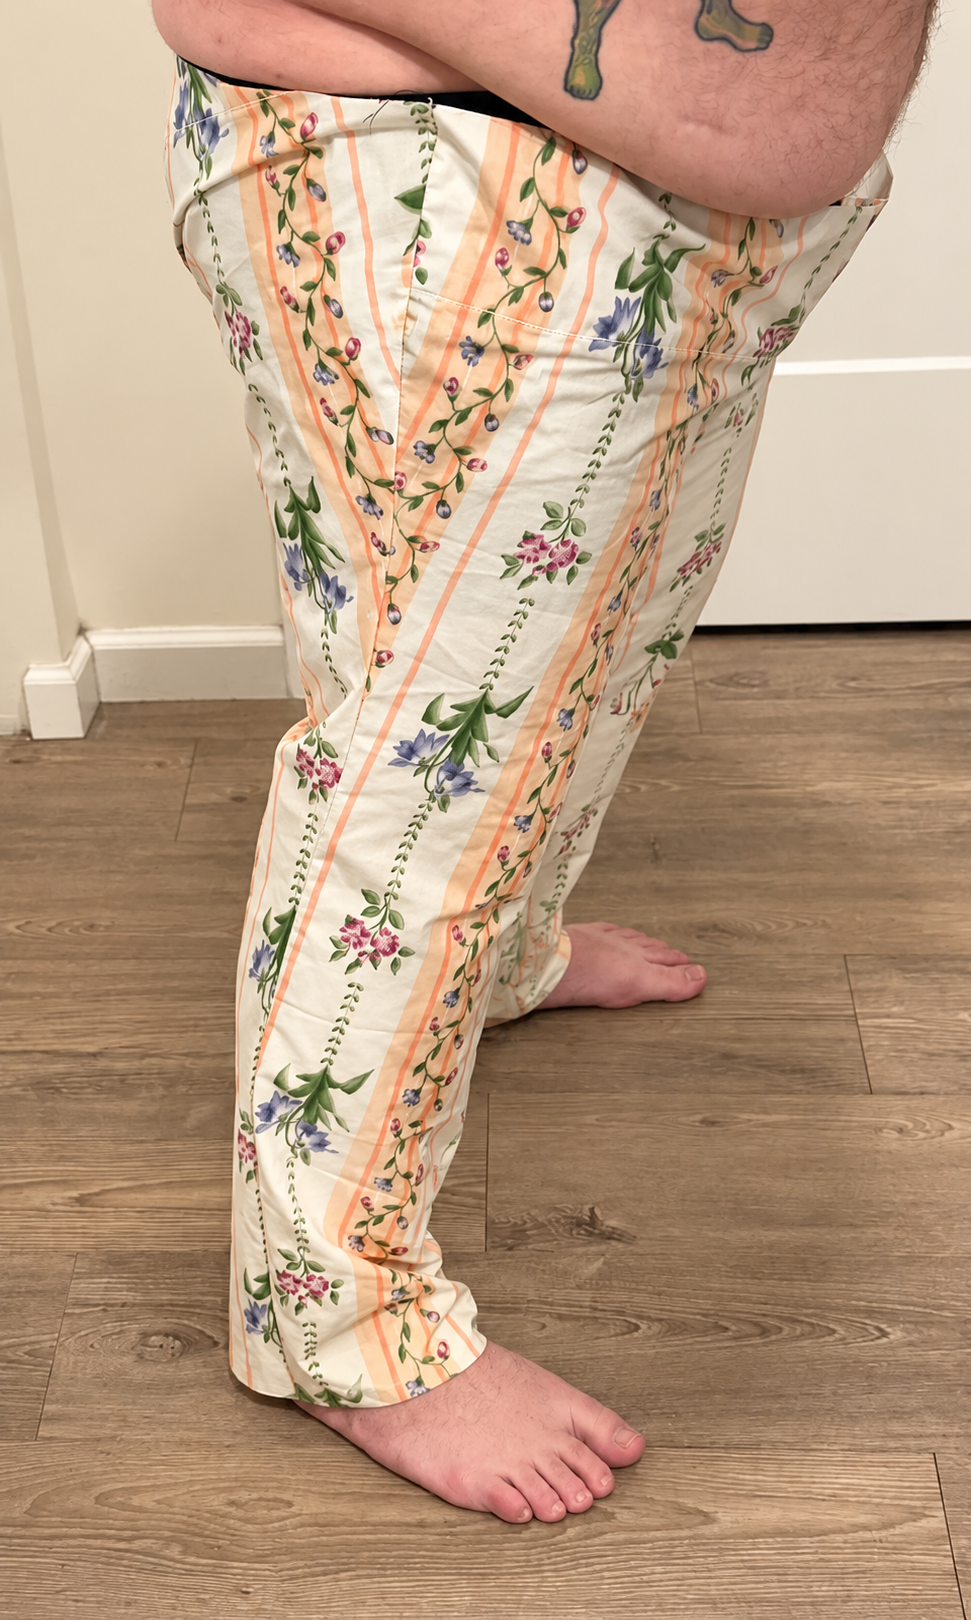
I also discovered a problem with the leg seams while sewing the sample. I'd drawn the curve on the front inseam incorrectly, along with the curve on the back outseam. The resulting lengths didn't match properly when I tried to sew the pieces together. I went back to the paper pattern, walked the curves against their corresponding seams and adjusted the upper portions until the lengths matched. Walking a seam means measuring along its actual curved stitching line and comparing it with the seam it's supposed to join. Two seams can look reasonable on paper but still have different lengths. In my case, the discrepancy was enough to become apparent during construction. The front crotch needed more room, so I added an inch of ease to the front curve using the same approach the tutorial demonstrated for adding ease to the back. That made the fit feel better. For the rise, I added two inches across the entire top of the pattern, both front and back. This addressed the waist sitting too low and, more importantly, the crotch being too high. Rather than drawing an entirely new block, I made the changes directly to the paper pattern by cutting it, inserting additional paper and taping everything back together. Between the altered crotch curve, the added height and the corrected leg seams, the paper pattern was starting to look noticeably different from the initial draft. That's particularly true around the front, where accommodating my belly required a much more substantial curve than the examples I'd been following.
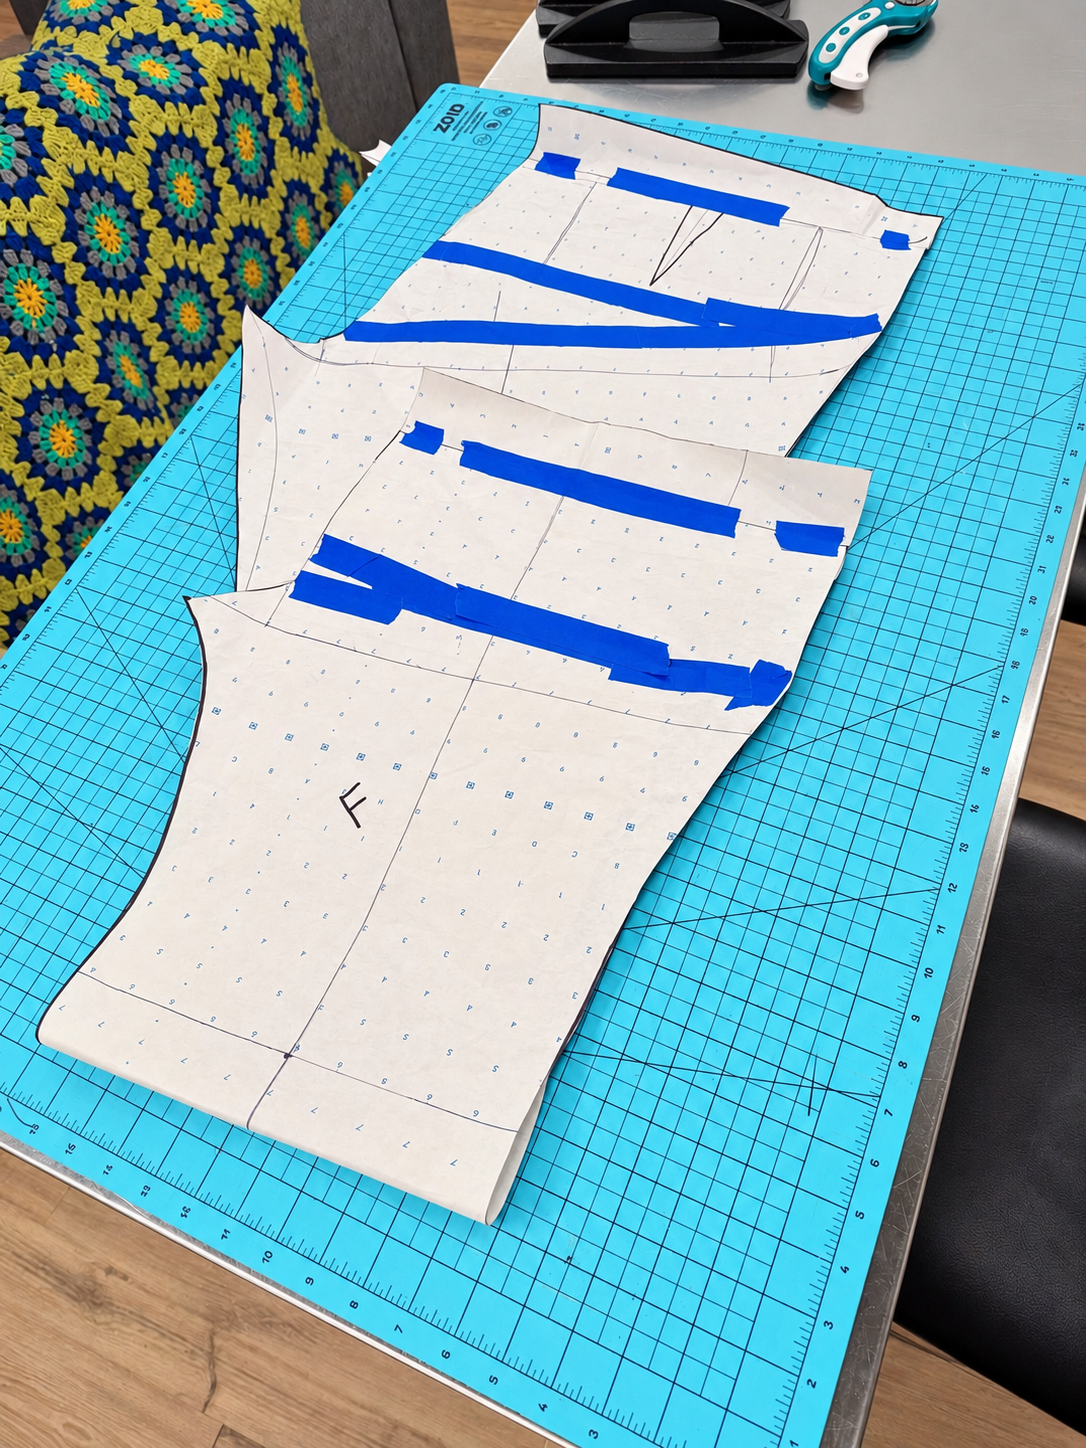
I didn't sew another test garment after making those corrections. The extra room in the front had felt better and the remaining problems looked straightforward enough to address on paper. The changes still need to be tested in the finished jeans, but I don't think another sample is necessary at this point. With the fit adjustments made, I could start turning the block into the actual jeans pattern. I'm aiming for a moderately loose fit with a nearly straight leg. To get that shape, I added one inch along the outside of both the front and back leg pieces, carrying the additional width all the way down to the hem. I wanted some room through the legs without making them especially wide. The tutorial also covered drafting the fly and waistband, so I followed those instructions for both pieces. For the pockets, I went in a different direction. The video demonstrated side-seam pockets in the front and welt pockets in the back, but I wanted conventional jeans pockets.
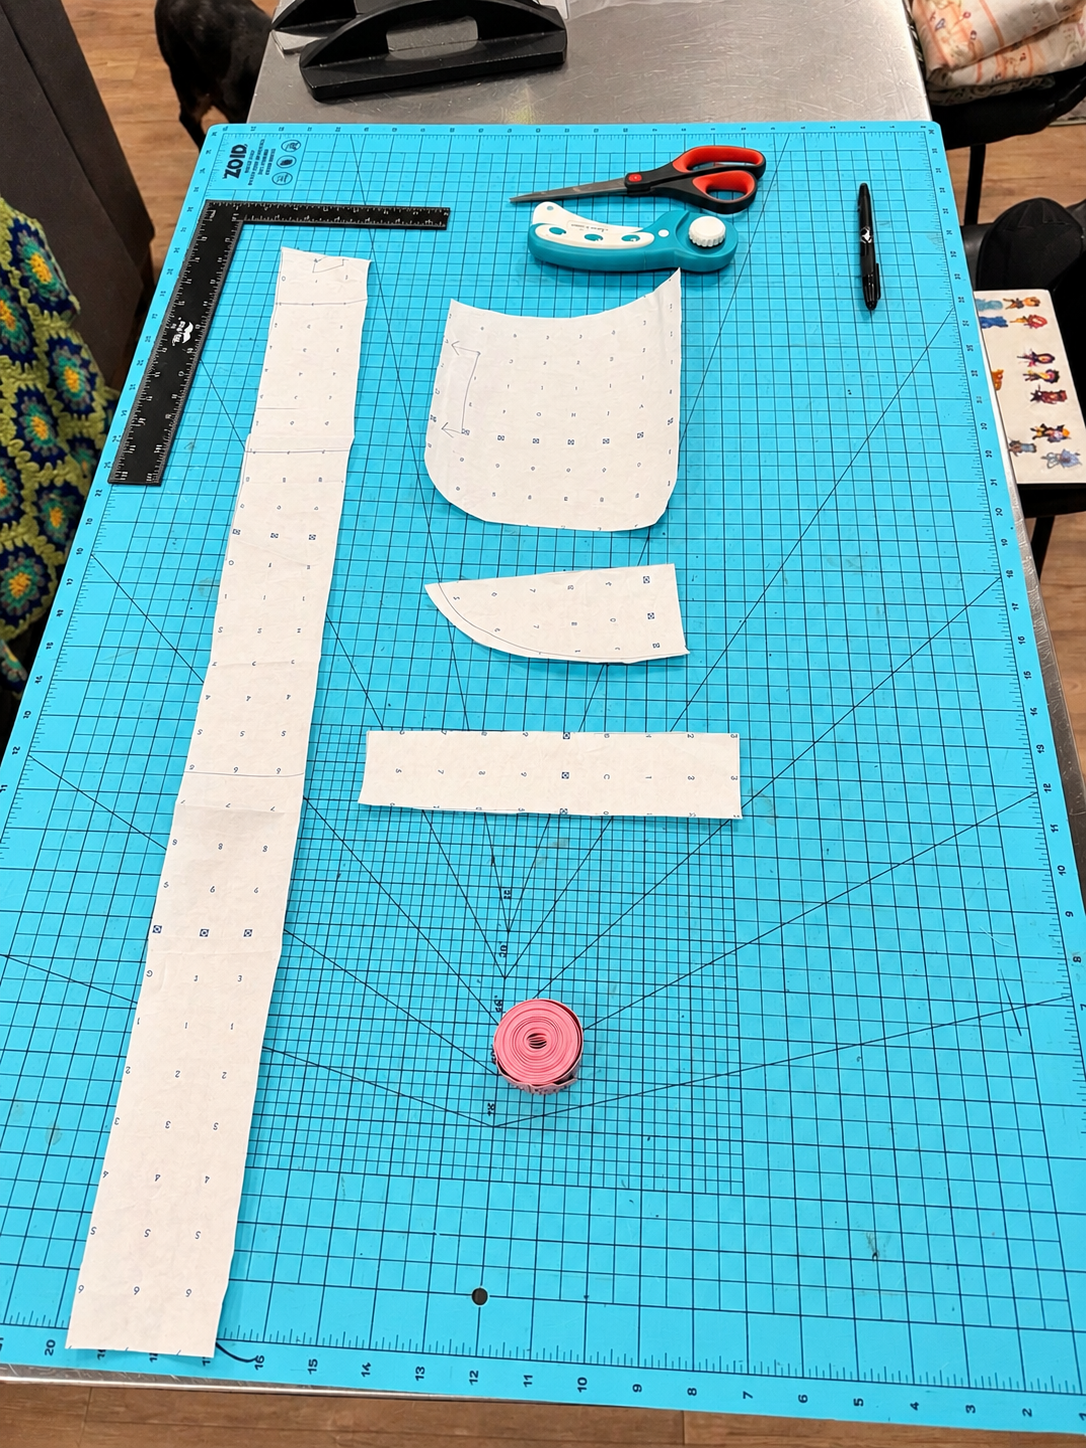
I measured the pockets on pants I already own and used those measurements to draft the front pocket openings and back patch pockets. There's no particular reason to use the pocket arrangement from the tutorial when I'm making jeans and already know what kind of pockets I prefer. At this point, I've got the front and back leg pieces, fly, waistband and pockets drafted. The original block has been adjusted for my body and modified to produce the shape I want. I feel OK about the result, although I won't know whether all the adjustments worked until I make the jeans. I have some medium-weight denim already on hand that I haven't worked with before and I'm planning to use that for the first pair. I could make another test garment, but the corrections were small and the problems they addressed were clear enough. I'm going to YOLO it and see how the jeans turn out.